When it comes to front-end development, choosing the right CSS framework is a foundational decision that impacts both design workflow and long-term maintainability. Two of the most popular CSS frameworks today are Tailwind CSS and Bootstrap. Both have strong communities, detailed documentation, and are trusted by thousands of developers and companies around the world.

What Is Tailwind CSS?

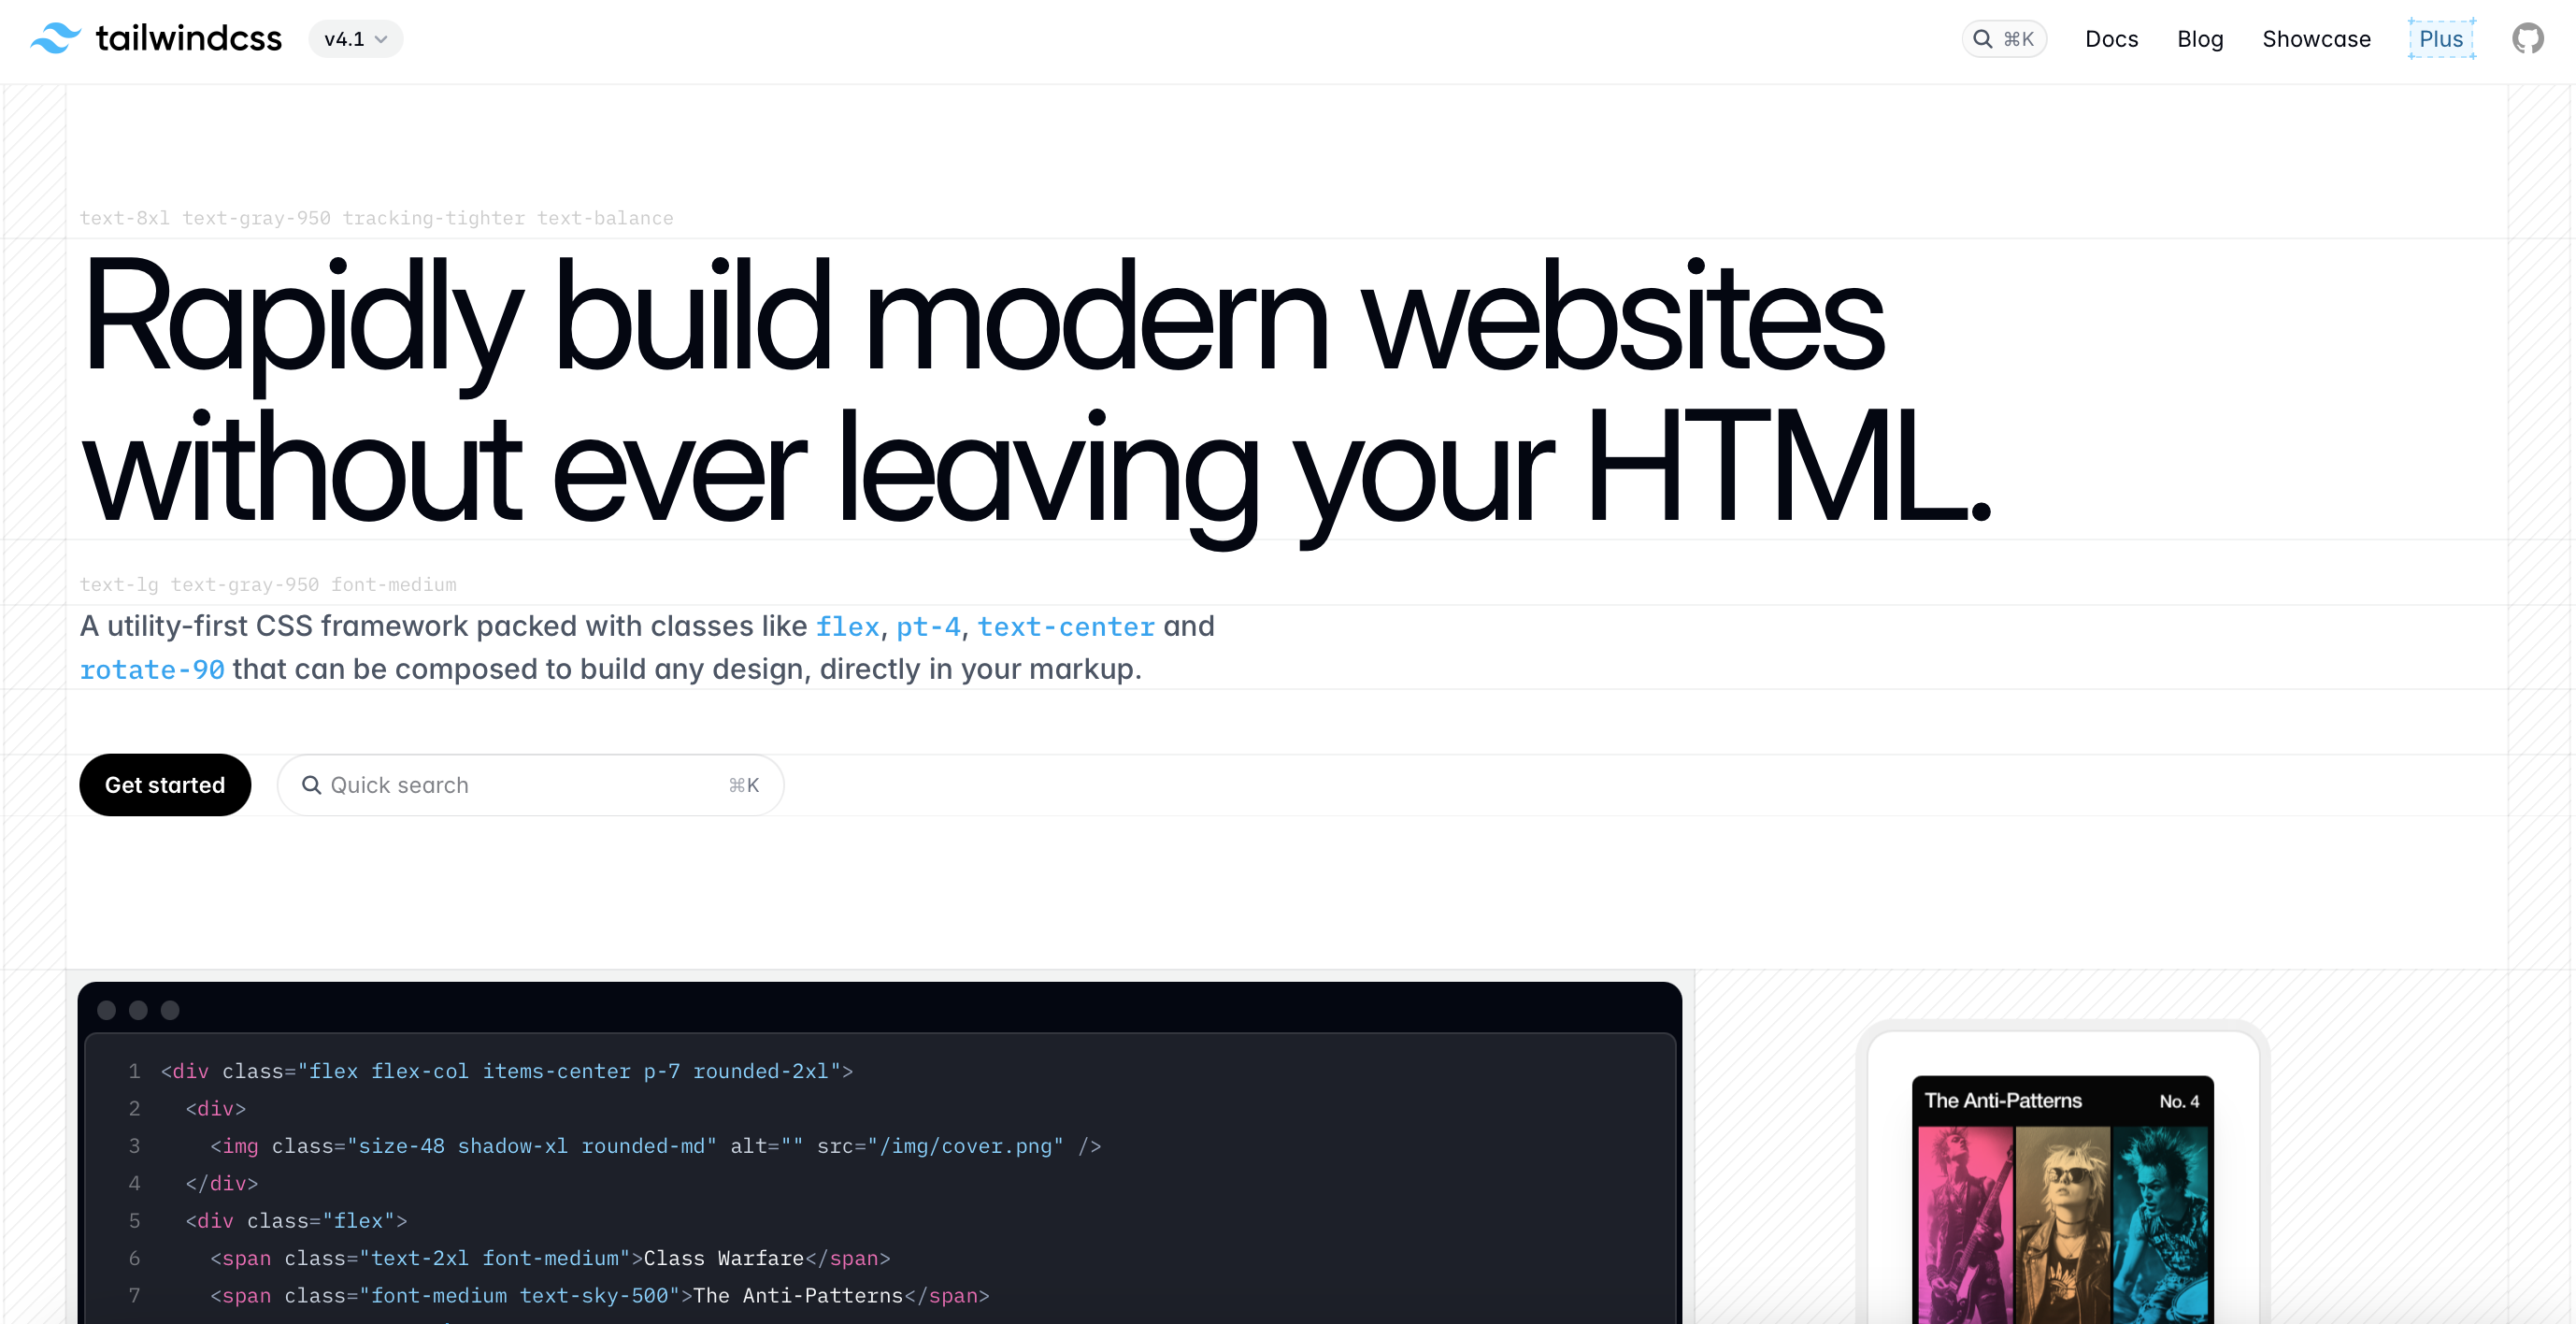
Tailwind CSS is a modern, utility-first CSS framework designed to speed up UI development. Instead of writing custom CSS, you apply predefined utility classes directly in your HTML to style elements. Each class performs a single function, such as setting padding, margins, colors, or font sizes, making it highly composable and customizable.

tailwindcss-screenshotTailwindCSS

Key Features of Tailwind CSS:

  • Utility-First: Style elements using low-level utility classes like p-4, text-center, bg-blue-500, etc.
  • Highly Customizable: Extend or override default design tokens (colors, spacing, breakpoints) via the tailwind.config.js.
  • Responsive Design: Comes with responsive variants out of the box using sm:, md:, lg:, and so on.
  • Dark Mode: Built-in dark mode support using class or media strategy.
  • JIT (Just-in-Time) Compiler: Generates only the styles you use, making CSS files extremely small and optimized.
  • Integration Ready: Works seamlessly with React, Vue, Angular, Laravel, Next.js, Nuxt, and many other frameworks.

Tailwind CSS empowers developers and designers to build responsive, clean, and scalable UIs faster, without writing a single line of traditional CSS.

✅ Tailwind CSS File Structure (Using NPM + PostCSS or Tailwind CLI)

project-root/
│
├── public/                   # Public-facing files
│   └── index.html
│
├── src/
│   ├── input.css             # Tailwind’s base CSS file (import directives)
│   └── components/           # Optional folder for component styles
│
├── tailwind.config.js       # Tailwind configuration file
├── postcss.config.js        # PostCSS config (if used)
├── package.json             # NPM dependencies
└── dist/
    └── output.css           # Compiled Tailwind CSS

Key Notes:

  • input.css typically contains:
@tailwind base;
@tailwind components;
@tailwind utilities;
  • Customize design tokens in tailwind.config.js.
  • Use npx tailwindcss -i ./src/input.css -o ./dist/output.css --watch for build.
Code Example:
<button class="bg-blue-500 text-white font-bold py-2 px-4 rounded">Click Me</button>

This button uses multiple utility classes to define its styling directly in the HTML.
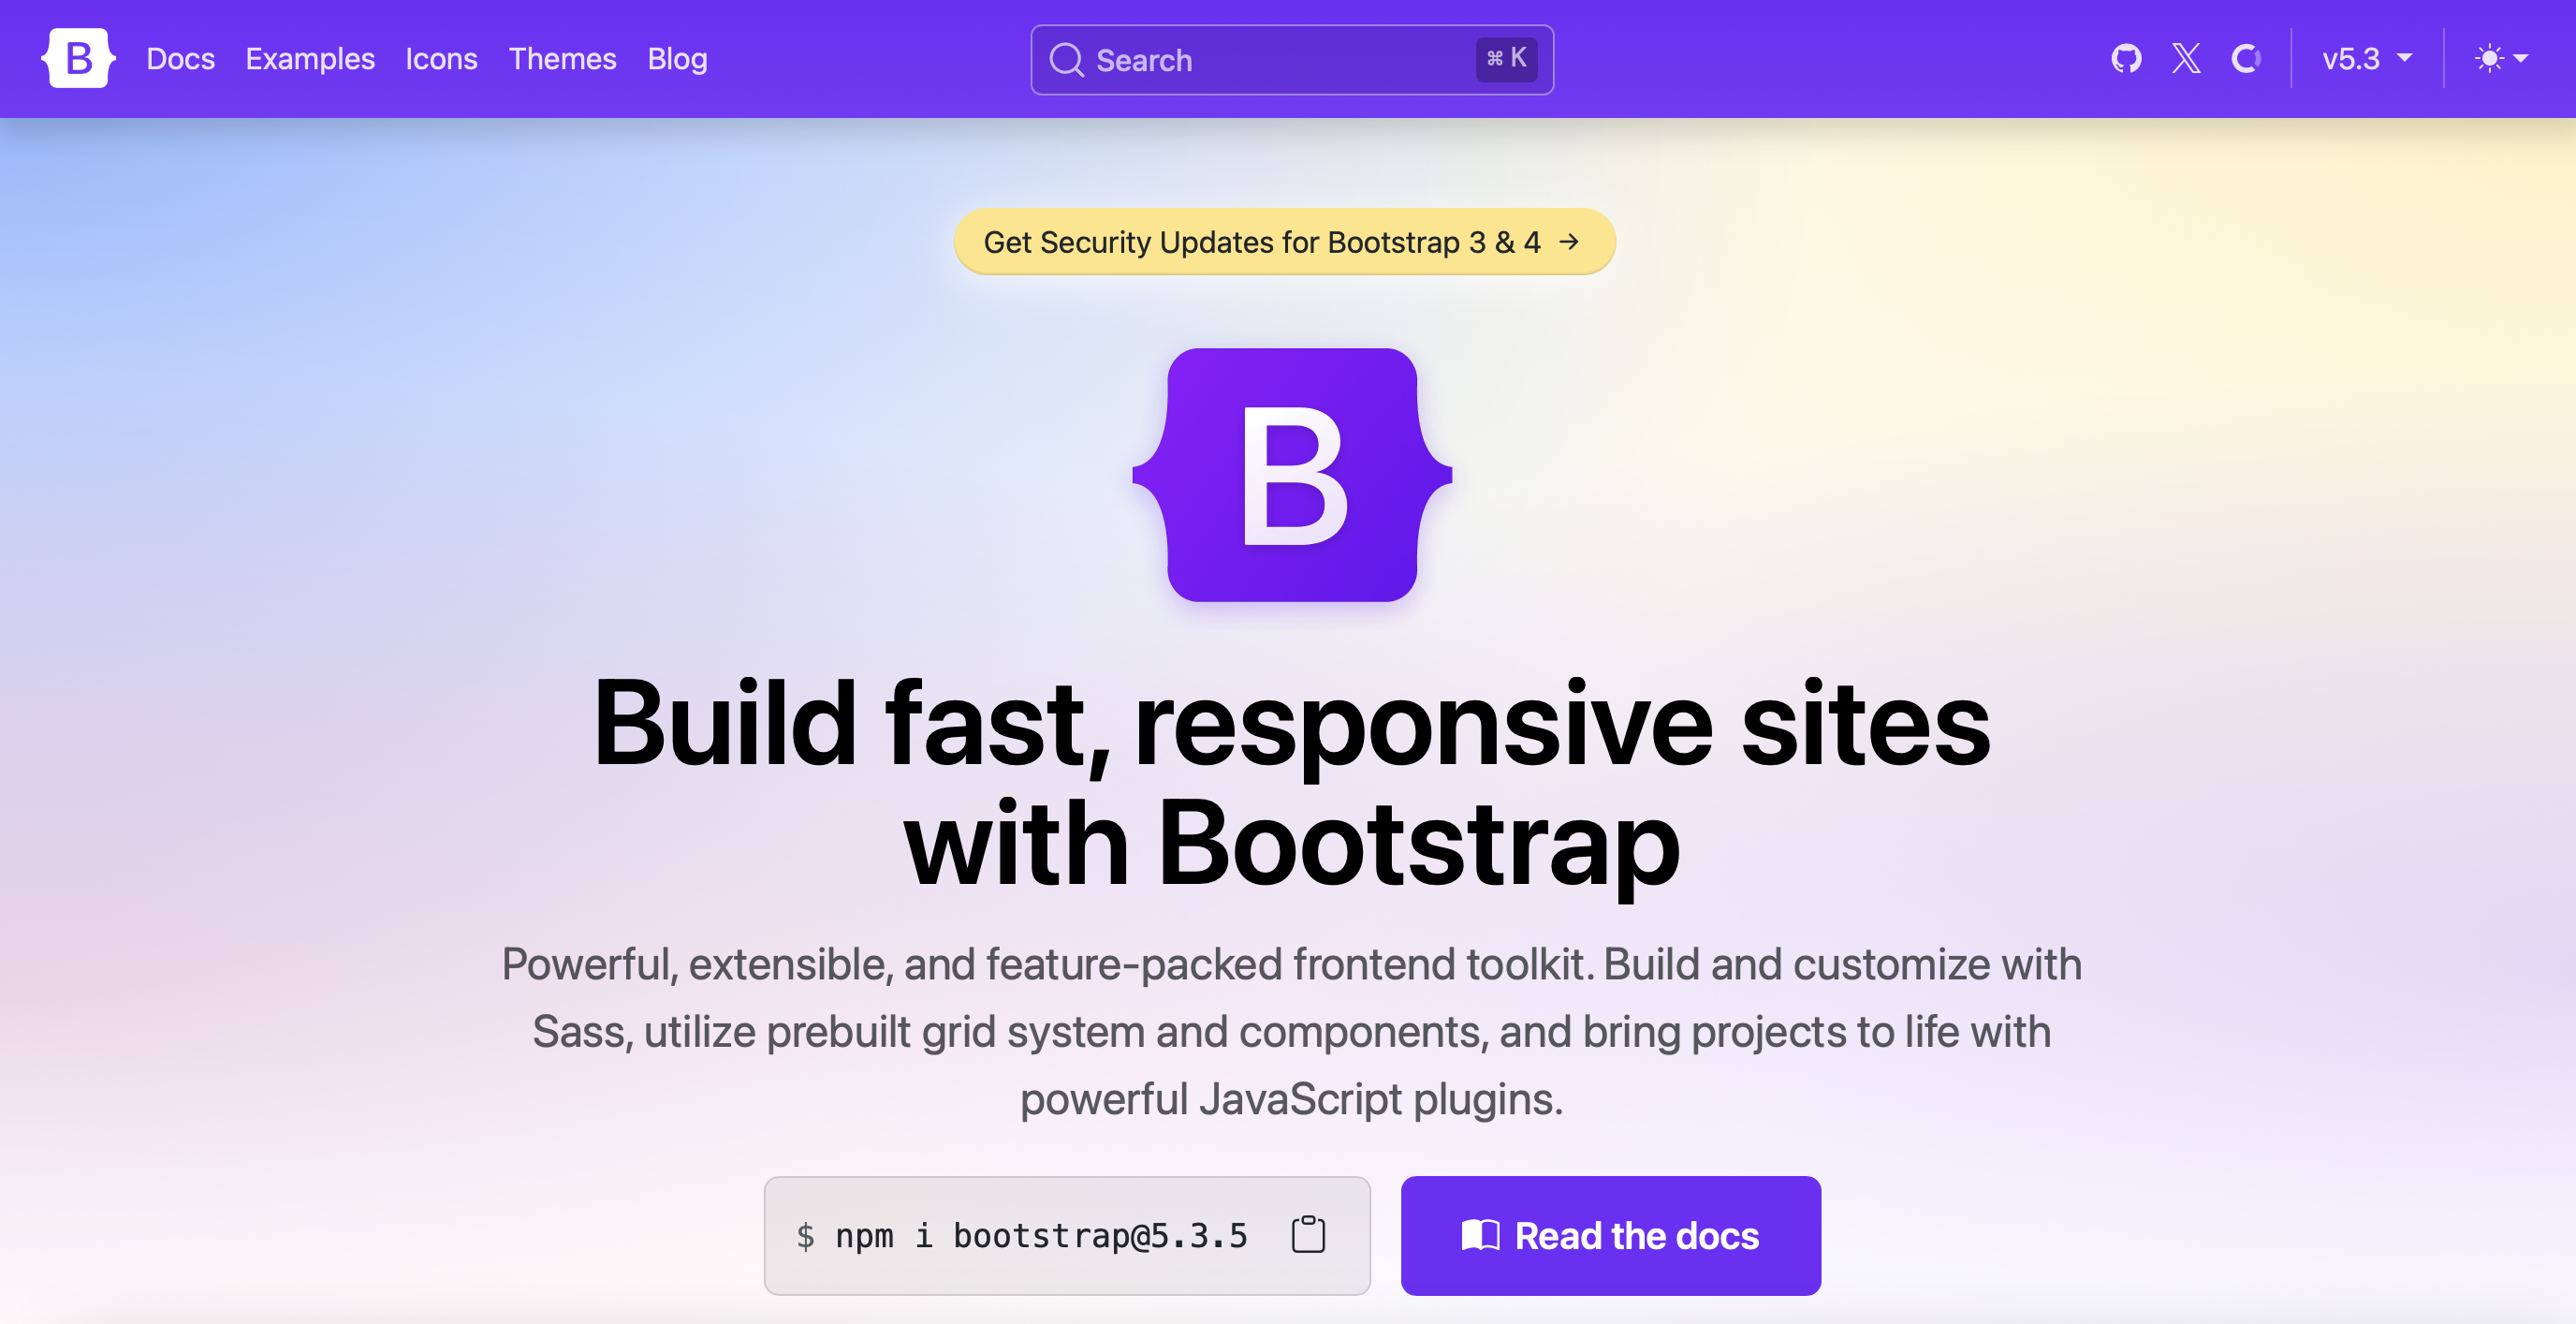
What Is Bootstrap?

Bootstrap is a popular, open-source front-end CSS framework developed by Twitter to streamline web development. It provides a ready-made set of design components, layout systems, and JavaScript plugins that make it easy to build responsive, mobile-first websites and web applications.

getbootstrap-screenshot

Bootstrap

Key Features of Bootstrap:

  • Component-Based: Comes with pre-built components like buttons, forms, modals, navigation bars, carousels, and more.
  • Grid System: Includes a 12-column responsive grid layout system for flexible and adaptive designs.
  • Responsive by Default: Uses media queries to ensure content looks great across all devices.
  • Utility Classes: Offers basic utility classes for spacing, text alignment, colors, and more.
  • JavaScript Plugins: Comes bundled with jQuery-based interactive features like dropdowns, tooltips, accordions, and alerts.
  • Consistent UI: Maintains consistent design across browsers and devices, helping speed up development.

Bootstrap is ideal for developers who want to quickly prototype or build fully functional websites without designing every component from scratch. It’s widely adopted in both small projects and enterprise-level applications due to its reliability, extensive documentation, and large community support.

✅ Bootstrap File Structure (Using NPM or via Sass)

project-root/
│
├── node_modules/
│
├── scss/
│   ├── custom.scss           # Your custom Bootstrap import
│   └── _variables.scss       # Optional variable overrides
│
├── dist/
│   └── css/
│       └── bootstrap.min.css
│
├── js/
│   └── bootstrap.bundle.min.js
│
├── index.html
├── package.json
└── webpack.config.js / vite.config.js (optional)

Key Notes:

  • custom.scss might look like:
// Custom overrides before import
$primary: #ff5722;

// Import Bootstrap
@import "bootstrap/scss/bootstrap";
  • For JS components (like modals, tooltips), use bootstrap.bundle.min.js which includes Popper.js.
Code Example:
<button class="btn btn-primary">Click Me</button>

This button uses Bootstrap’s predefined class to apply styles.

Key Differences Between Tailwind CSS and Bootstrap

Feature Tailwind CSS Bootstrap
Design Philosophy Utility-first, unopinionated Component-based, opinionated
Customization Full control over styles Themeable, but with restrictions
Learning Curve Steeper initially Easier for beginners
Reusability Encourages reusable utilities Prebuilt components
CSS File Size Smaller with JIT Larger due to built-in styles
JavaScript Dependencies Optional Built-in components require JS
Integration Great with modern JS frameworks Works with any HTML page
Community & Documentation Growing rapidly Mature and well-established

Pros and Cons of Tailwind CSS

Pros:
  1. Utility-First Approach
    You build custom designs directly in your HTML using utility classes, which speeds up development and reduces the need for writing custom CSS.
  2. Highly Customizable
    With the tailwind.config.js file, you can define your design system — colors, breakpoints, spacing, fonts — making your design consistent across your entire project.
  3. Responsive Design Made Easy
    Tailwind makes responsive layouts simple with its built-in mobile-first breakpoints, applied directly in the HTML via class names.
  4. Small Final File Size
    Tools like PurgeCSS (built into Tailwind CLI) remove unused CSS, ensuring your final CSS file is lightweight and optimized.
  5. Faster Prototyping
    Developers can rapidly build UI components without writing custom CSS, making Tailwind perfect for MVPs and design systems.
  6. Great Documentation & Ecosystem
    Comprehensive docs, templates, UI libraries (like Tailwind UI), and third-party plugins enhance developer productivity.
Cons:
  1. Messy HTML (Class Soup)
    HTML can get bloated with long class lists, especially on complex components, which some developers find hard to read and maintain.
  2. Learning Curve
    Developers unfamiliar with utility-first CSS may take time to adjust to Tailwind’s workflow and class naming conventions.
  3. Requires Build Process
    Tailwind needs a build step (e.g., using PostCSS or Tailwind CLI), which adds configuration overhead compared to using plain CSS or frameworks like Bootstrap CDN.
  4. No Pre-styled Components
    Unlike Bootstrap, Tailwind does not come with styled components. You have to build everything from the ground up (unless you purchase Tailwind UI or use community kits).
  5. Harder for Designers to Read
    Non-technical team members (like designers) may find it difficult to interpret Tailwind-heavy markup without tooling or experience.

Pros and Cons of Bootstrap

Pros:
  1. Pre-Built Components
    Bootstrap offers a vast library of ready-to-use UI components like buttons, modals, navbars, and carousels. This speeds up development and ensures design consistency.
  2. Responsive Grid System
    Its 12-column responsive grid system helps build layouts that adapt seamlessly across devices and screen sizes without writing custom media queries.
  3. Cross-Browser Compatibility
    Bootstrap is tested across all modern browsers, reducing the effort required for cross-browser testing and fixes.
  4. Consistent Design Language
    Developers get a uniform look and feel across all components, which is perfect for quick MVPs and admin dashboards.
  5. Accessibility Support
    Bootstrap components are built with accessibility in mind (ARIA attributes, semantic HTML), making websites more inclusive and WCAG-friendly.
  6. Comprehensive Documentation
    Bootstrap has excellent official documentation, along with numerous community tutorials, making it beginner-friendly and easy to learn.
  7. Quick Start with CDN
    You can get started instantly with a CDN link without needing a build tool or configuration setup.
Cons:
  1. Generic Look
    Since many sites use Bootstrap, uncustomized projects can look similar or “template-like” without additional theming or styling effort.
  2. Heavy CSS & JavaScript Files
    The full Bootstrap bundle can be large if not customized or purged, which may affect load speed and performance.
  3. Less Flexibility
    Customizing Bootstrap’s core styles often requires overriding existing styles, which can get messy and lead to specificity wars.
  4. Component Overhead
    If you use only a few Bootstrap components, the rest of the CSS/JS can become unused bloat unless removed with custom builds.
  5. JavaScript Dependency
    Some Bootstrap components rely on JavaScript and jQuery, which can be unnecessary if you’re using a modern JavaScript framework like React or Vue.

When to Use Tailwind CSS

Tailwind CSS is best suited for:
  • Custom UI Designs from Scratch
    Tailwind CSS is perfect when you need complete control over your design system. If your project demands a unique, brand-specific look (rather than a predefined theme), Tailwind lets you build custom UIs using utility-first classes without being constrained by pre-styled components.
  • Design Systems and Component Libraries
    If you’re building a scalable design system or reusable component library, Tailwind is an excellent choice. It encourages consistency and reusability, especially when paired with tools like Tailwind UI, Headless UI, or component-based frameworks (React, Vue, etc.).
  • Faster Prototyping with Utility Classes
    Tailwind’s utility-first approach allows developers to prototype quickly without writing custom CSS. This is especially useful for startups, MVPs, or agile workflows where design iterations happen fast.
  • Performance Optimization Tailwind uses PurgeCSS (now built into Tailwind) to remove unused classes, resulting in tiny final CSS files. This boosts page load speed and improves Core Web Vitals, making it ideal for SEO-focused and performance-critical websites.
  • Working with JavaScript Frameworks If your stack includes React, Vue, Next.js, or Svelte, Tailwind integrates seamlessly. You can write styles inline using utility classes, which keeps your code closer to your markup and easy to maintain.
  • Collaborating with Designers Using Figma Tailwind has official and community-supported Figma design kits that mirror its class system. This bridges the gap between design and development, ensuring pixel-perfect results.
  • Teams That Prefer Utility-First CSS If your team enjoys using utility classes over traditional semantic CSS, Tailwind boosts development speed, reduces context switching, and avoids naming convention issues (like BEM or SMACSS).

Use Case Example: A custom dashboard for a SaaS application where branding and design need to stand out.

When to Use Bootstrap

Bootstrap is ideal for:
  • Rapid Development with Prebuilt Components
    Bootstrap shines when you need to get a fully functional UI up and running quickly. Its prebuilt components—buttons, navbars, modals, alerts, carousels—are ready to use, saving time and effort in building common UI elements from scratch.
  • Back-End Projects Needing a Front-End Layer
    For developers who primarily work with back-end languages (like PHP, Python, or .NET), Bootstrap provides an easy way to integrate a clean, responsive front-end without diving deep into frontend architecture or writing custom CSS.
  • Admin Dashboards and Internal Tools
    Bootstrap is ideal for internal dashboards or admin panels where speed and functionality matter more than highly customized designs. Its grid system and utility classes make layout and component alignment straightforward.
  • Legacy Browser Support
    If your project must support older browsers (like IE11), Bootstrap provides better backward compatibility compared to newer frameworks like Tailwind CSS, which focus on modern browser standards.
  • Consistent Look and Feel
    Bootstrap ensures visual consistency across your site with a default design system and typography. This is helpful for teams with limited design resources who still want a professional look.
  • Learning and Educational Projects
    For beginners or teams learning front-end development, Bootstrap offers a gentle learning curve. The official documentation is beginner-friendly, and there’s a large number of tutorials, templates, and community support.
  • Design-Heavy Projects Without a Dedicated Designer
    If you don’t have a UI designer on your team, Bootstrap’s ready-to-use components can help you build aesthetically pleasing interfaces with minimal effort or design expertise.

Use Case Example: An admin panel, CMS, or corporate website where rapid development and standardized UI are important.

SEO, Performance, and Accessibility

When it comes to SEO and performance, both Tailwind CSS and Bootstrap can support fully optimized websites if developers follow best practices. Tailwind CSS has a performance advantage due to its utility-first approach. With Tailwind, unused styles can be purged during the build process, resulting in much smaller final CSS files. This helps reduce page load time and improves Core Web Vitals—important ranking factors in Google’s SEO algorithms. By writing only what’s needed and avoiding bloated pre-built components, Tailwind naturally supports leaner, faster websites, especially for projects focused on speed and minimalism.

In terms of accessibility, Bootstrap has an edge for teams looking to move quickly. It comes with built-in ARIA roles, keyboard navigation, and screen reader support in most of its UI components, which makes it easier to meet accessibility standards out of the box. On the other hand, Tailwind doesn’t provide pre-built components, so accessibility has to be manually implemented. While this gives more control and customization, it also requires developers to be mindful of accessibility considerations when building UIs. Proper use of semantic HTML and ARIA attributes becomes essential when using Tailwind for accessible web development.

Tailwind CSS and Bootstrap Together?

Using Tailwind CSS and Bootstrap together is technically possible, and in certain scenarios, it may even seem beneficial—especially when trying to leverage the strengths of both frameworks. For example, developers might want to use Bootstrap’s pre-built components such as modals, carousels, or navbars to accelerate development time, while also applying Tailwind’s utility classes for custom spacing, typography, or responsive design. This hybrid approach allows for rapid prototyping with enhanced customization and flexibility.

However, combining both frameworks comes with drawbacks. First, it can significantly increase the final CSS bundle size, especially if unused Bootstrap and Tailwind utilities are not purged properly. This can negatively impact performance and page load speeds. Second, using two different CSS methodologies—one being utility-first (Tailwind) and the other component-based (Bootstrap)—can create confusion in class naming, styling hierarchy, and team collaboration. Maintenance becomes harder as the codebase grows, and debugging styling conflicts can slow down development.

From a long-term perspective, it’s best to stick with one CSS framework per project to ensure consistency, better performance, and cleaner code. If you require pre-built UI elements, Bootstrap is great. If you prioritize customization and performance, Tailwind CSS is the better option. Consistency is key in scalable, maintainable front-end development.

Pricing

🔹 Tailwind UI (Paid Add-on)

Tailwind CSS is also free and open-source. The official Tailwind UI component library (built by the creators) is a paid product.
Price:

  • $149 (one-time) — for the Application UI
  • $349 (one-time) — for the Complete Package (Marketing + Application UI)
  • Lifetime access, free updates

Tailwind UI Pricing: https://tailwindui.com/pricing

🔹 Bootstrap Premium Themes (via Bootstrap Themes by Creative Tim, Start Bootstrap, and others)

Bootstrap itself is also free and open-source under the MIT license, widely used for personal and commercial projects without any fees.

Price Range:
  • $49 – $249+ depending on the theme and license
  • Includes admin dashboards, landing pages, and UI kits

Bootstrap Themes Pricing: https://themes.getbootstrap.com/

How SBM Technologies Can Help

At SBM Technologies, we are industry experts in Tailwind CSS and Bootstrap development. Our skilled front-end team has successfully delivered hundreds of websites and web applications using both frameworks for top brands and growing businesses worldwide.

Our services include:
  • Clean, semantic, and SEO-friendly HTML/CSS
  • Mobile-first, responsive layouts
  • Optimized performance with minimal CSS footprint
  • WCAG-compliant accessibility
  • Cross-browser and device compatibility
  • Pixel-perfect UI implementation from Figma, XD, Canva, or Sketch

We are also experienced in integrating third-party scripts, prebuilt UI kits, and custom components—ensuring a smooth front-end development workflow without any compromise on quality or maintainability.

Check out our work samples to see how we bring your designs to life with precision and performance.

We don’t just write code—we deliver clean, semantic, responsive HTML/CSS optimized for SEO and performance. Whether it’s a landing page, e-commerce site, dashboard, or web app, we make sure your website looks and functions flawlessly on all devices.

Final Thoughts

There is no one-size-fits-all answer when comparing Tailwind CSS vs. Bootstrap. Each has its advantages depending on your project’s scope, design requirements, and your team’s familiarity with the framework.

Choose Tailwind CSS if:
  • You want full design flexibility
  • You work with modern JS frameworks
  • Performance and minimal CSS matter
Choose Bootstrap if:
  • You want quick results with prebuilt components
  • You prefer working with standard UI patterns
  • You’re building enterprise-grade web interfaces

Both frameworks are excellent. At SBM Technologies, we guide our clients through the decision-making process to ensure you get the best fit. Contact us today to learn more about how we can turn your design into a fast, responsive, and visually appealing website using the CSS framework of your choice.

Creating a stunning and functional website starts with a great design. Figma has become a favorite design tool for UI/UX designers due to its collaborative features and ease of use. But when it comes to turning those beautiful mockups into functional code, many struggle. That’s where Framer comes in. With Framer, converting Figma to HTML becomes intuitive and efficient. In this guide by SBM Technologies, we’ll walk you through every step of exporting your Figma design to clean HTML using Framer.

Table of Contents

  1. Introduction to Figma and Framer
  2. Why Convert Figma to HTML?
  3. Benefits of Using Framer for HTML Export
  4. Setting Up Your Figma Design for Export
  5. Connecting Figma to Framer
  6. Working with Components in Framer
  7. Customizing Styles and Animations
  8. Exporting HTML Code from Framer
  9. Testing and Optimizing the HTML Output
  10. Final Tips and Best Practices

1. Introduction to Figma and Framer

Figma is one of the most popular design tools today, offering collaborative, cloud-based design features for UI/UX designers. It allows teams to design interfaces, create prototypes, and hand off designs to developers.

Framer is a visual web builder that lets you turn your designs into functional websites using animations, interactivity, and real-time previews. While originally used for prototyping, Framer now supports production-ready websites with HTML export capabilities.

Combining Figma with Framer enables seamless transition from static design to responsive HTML.

2. Why Convert Figma to HTML?

Turning a Figma design into HTML means you can bring your static design to life on the web. It allows developers to implement responsive, interactive websites while preserving design precision. HTML output ensures faster loading, SEO readiness, and device compatibility.

  • Fast Deployment: Converting Figma to HTML accelerates web development workflows.
  • Design Accuracy: Maintain pixel-perfect design fidelity.
  • SEO Readiness: Clean HTML structures improve your site’s discoverability on search engines.
  • Cross-Platform Compatibility: HTML is compatible across devices and browsers.

3. SEO Benefits of Clean HTML

A well-structured HTML output ensures:

  • Fast load time (reduced bounce rates)
  • Better accessibility with semantic tags
  • Improved indexing for Google bots
  • Enhanced mobile performance

At SBM Technologies, we prioritize SEO semantic HTML when delivering websites to clients. Our Figma to HTML process via Framer keeps all the vital metadata, alt text, header structure, and lightweight code for optimal SEO performance.

4. What is Framer?

Framer is a modern design tool that combines:

  • Visual design
  • Animation
  • Interactivity
  • Real-time preview

It supports importing Figma files and transforming them into live websites with custom animations and interactions. Framer is great for freelancers, agencies, and even enterprise-level websites.

5. Preparing Your Figma File

Before converting, ensure your Figma design is optimized:

  • Use organized layers with clear naming conventions
  • Group reusable components (buttons, forms, nav bars)
  • Keep a consistent style guide (colors, typography)
  • Ensure responsiveness (desktop, tablet, mobile)
  • Export SVGs, images at required resolution

Pro Tip: Use auto layout in Figma to improve conversion accuracy in Framer.

6. Step-by-Step Guide to Convert Figma to HTML with Framer

Step 1: Sign In to Framer

Go to Framer.com and sign in with your account. If you don’t have one, you can register for a free account.

Step 2: Create a New Project

From the dashboard, click on “+ New Project” and choose a blank canvas or a pre-built template.

Step 3: Import Your Figma File
  1. Open the Figma file you want to convert.
  2. In Framer, click Insert > Figma.
  3. Authenticate your Figma account.
  4. Select the frame or component you want to import.
Step 4: Layout Adjustments

Framer automatically interprets your design, but check for:

  • Alignment issues
  • Font mismatches
  • Spacing adjustments

Adjust margins, padding, and layout using Framer’s intuitive drag-and-drop interface.

Step 5: Make It Responsive

In the Framer canvas:

  • Use Flexbox for grids
  • Set breakpoints for mobile and tablet views
  • Adjust font scaling
Step 6: Add Animations and Interactions (Optional)

Framer allows adding scroll effects, hover animations, transitions, and page navigation without coding.

  • Click any element
  • Select the “Interaction” tab
  • Add behavior (e.g., on click, on hover)

7. Adding Interactivity in Framer

Framer allows easy style changes with live previews. Update colors, typography, spacing, and animations directly in the visual editor. Add micro-interactions and transitions to enhance user experience.

Framer lets you:

  • Create clickable buttons
  • Add modals or dropdowns
  • Build multi-page navigation
  • Trigger animations on scroll or hover

These can be achieved using Framer’s pre-built components or logic blocks. This enhances user experience and mimics real app behavior.

8. Exporting HTML from Framer

Once your project is ready, you can export clean, semantic HTML and CSS. Framer provides options to download or copy code snippets. Use these in your code editor or CMS.

  1. Click on Share > Export Code
  2. Select HTML/CSS format
  3. Download the zipped folder

You’ll receive a fully structured HTML folder with CSS and image assets.

9. Optimizing HTML Code for SEO

At SBM Technologies, we go one step further by refining the exported HTML:

  • Replace <div> with semantic elements (<header>, <main>, <footer>)
  • Add meaningful alt text to images
  • Use <h1> to <h6> hierarchy for content
  • Compress images using tools like TinyPNG
  • Minify CSS and JavaScript files
  • Add meta tags (title, description, keywords)

10. Real-Life Use Case by SBM Technologies

A US-based startup approached SBM Technologies to convert their Figma UI for a SaaS dashboard. Using Framer, we:

  • Imported and refined over 15 screens
  • Integrated animations and responsive layouts
  • Exported HTML and optimized it for SEO
  • Delivered the project in just 5 days

The client saw a 40% improvement in load speed and a significant boost in organic traffic after launch.

11. Tips for Pixel-Perfect Conversion

  • Stick to a consistent 8px grid in Figma
  • Use system fonts for compatibility
  • Avoid overlapping layers
  • Name layers and components properly
  • Preview mobile and desktop versions

12. Frequently Asked Questions

Q1. Can I host the HTML exported from Framer on any server?
Yes, once exported, you can host it on any hosting provider or CMS.

Q2. Does Framer export clean code?
Framer generates pretty clean HTML/CSS, but manual optimization is recommended for production.

Q3. Is Framer free?
Framer offers a free plan with limited features and premium plans for advanced needs.

Conclusion

Converting Figma to HTML using Framer is an efficient, visual, and code-friendly method that delivers design accuracy and SEO performance. SBM Technologies helps startups, agencies, and enterprises achieve fast, responsive, and SEO-optimized websites using cutting-edge design-to-code tools like Framer.

Ready to turn your Figma designs into high-quality HTML code?

Contact SBM Technologies today to elevate your digital presence.

Keywords: Figma to HTML, Framer to HTML, convert Figma designs, Figma export HTML, HTML optimization, responsive design

Article by: SBM Technologies – Experts in modern web development.

Static websites have become increasingly popular due to their speed, security, and ease of maintenance. Unlike dynamic websites that rely on databases and server-side processing, static websites deliver pre-rendered HTML, CSS, and JavaScript files to users, resulting in faster loading times and improved performance.

With advancements in web technologies, many frameworks have emerged that simplify the development of static sites. In this article, we will explore the best frameworks for building static websites in 2025, comparing their features, benefits, and ideal use cases.

Why Choose a Static Website?

Before diving into the frameworks, let’s look at why static websites are a preferred choice for many developers and businesses:

  • Speed & Performance: Since static sites do not rely on database queries, they load much faster than dynamic websites.
  • Security: With no database or server-side scripts, static sites have fewer vulnerabilities.
  • Scalability: They can handle high traffic efficiently as they are served via a CDN.
  • Ease of Deployment: Hosting static sites is simpler and cheaper, with platforms like GitHub Pages, Netlify, and Vercel offering free hosting.
  • Better SEO: Faster load times contribute to better search engine rankings.

Now, let’s explore the best static site frameworks in 2025 and determine which one is ideal for your project.

1. Next.js

next-js-frontend-framework

Overview: Originally designed for React-based applications, Next.js has evolved to support static site generation (SSG) alongside server-side rendering (SSR). It’s one of the most powerful frameworks for modern web development.

Website Link: https://nextjs.org

Features:

  • Hybrid capabilities (Static + Server-side rendering)
  • Automatic static optimization
  • Image optimization and built-in SEO enhancements
  • API routes for backend logic

Best for: Developers looking for an advanced framework that supports both static and dynamic content.

2. Gatsby

gatsby-frontend-framework

Overview: Gatsby is a powerful static site generator (SSG) built on React. It uses GraphQL for data handling and pre-fetching, making it a fast and efficient option for static website development.

Website Link: https://www.gatsbyjs.com

Features:

  • Fast performance with static pre-rendering
  • Huge plugin ecosystem
  • Supports Markdown, CMS, and API integrations
  • Progressive web app (PWA) support

Best for: Blogs, marketing websites, and eCommerce platforms needing high performance.

3. Hugo

hugo-frontend-framework

Overview: Hugo is one of the fastest static site generators available, written in Go. It is highly efficient and ideal for projects that require quick development cycles.

Website Link: https://gohugo.io

Features:

  • Ultra-fast build times
  • Built-in templates for easy customization
  • No dependencies required
  • Supports multiple content formats like Markdown

Best for: Personal blogs, documentation sites, and portfolios.

4. Jekyll

jekyll-frontend-framework

Overview: Jekyll is a simple, Ruby-based static site generator widely used for blogging and documentation.

Website Link: https://jekyllrb.com

Features:

  • Seamless integration with GitHub Pages
  • Markdown support for easy content management
  • Flexible theming and templating options
  • Active community and extensive plugins

Best for: Developers familiar with Ruby and those looking for GitHub-based hosting solutions.

5. Eleventy (11ty)

11ty-frontend-framework

Overview: Eleventy is a lightweight, flexible static site generator that does not lock developers into a specific framework.

Website Link: https://www.11ty.dev

Features:

  • Simple and minimalistic setup
  • Supports multiple template languages (Markdown, Handlebars, Nunjucks, etc.)
  • Fast build times and low overhead
  • Ideal for plain HTML and CSS sites

Best for: Developers who prefer flexibility and minimal dependencies.

6. Nuxt.js

nuxt-js-frontend-framework

Overview: Built on Vue.js, Nuxt.js is a popular framework that supports both static site generation (SSG) and server-side rendering (SSR).

Website Link: https://nuxt.com

Features:

  • Supports Vue 3 with enhanced performance
  • Automatic code-splitting for better load times
  • Static site generation with nuxt generate
  • Integrated state management via Vuex

Best for: Vue developers looking for a robust static site solution.

7. Astro

astro-build-frontend-framework

Overview: Astro is a next-gen static site builder that allows developers to mix and match multiple front-end frameworks like React, Vue, and Svelte.

Website Link: https://astro.build

Features:

  • Optimized for speed with partial hydration
  • Supports multiple UI frameworks in a single project
  • Component-driven approach for better maintainability
  • Ideal for content-heavy websites

Best for: Developers working with multiple front-end frameworks.

8. Pelican

pelican-frontend-framework

Overview: Pelican is a Python-based static site generator that offers a simple and efficient way to build static websites.

Website Link: https://getpelican.com

Features:

  • Supports reStructuredText and Markdown
  • Integrated RSS and Atom feeds
  • Flexible theming system
  • Well-suited for Python developers

Best for: Python enthusiasts who prefer a static site generator tailored for blogging.

Feature Comparison Table

Framework Language Speed Plugin Support Best Use Case
Next.js JavaScript Medium High Hybrid SSG & SSR
Gatsby JavaScript High Very High Blogs & eCommerce
Hugo Go Very High Moderate Documentation, Blogs
Jekyll Ruby Medium High Blogs, Personal Sites
Eleventy JavaScript High Moderate Minimalist Websites
Nuxt.js JavaScript Medium High Vue-based Static Sites
Astro JavaScript Very High Moderate Multi-Framework Projects
Pelican Python High Low Python-based Blogs

Choosing the Right Framework

The best framework depends on your project requirements:

Static websites are an excellent choice for developers looking to build fast, secure, and easily scalable web solutions. In 2025, frameworks like Next.js, Gatsby, Hugo, and Eleventy continue to evolve, offering developers the best tools to create high-performance websites.

At SBM Technologies, we help businesses and developers choose the right frameworks to build optimized, SEO-friendly websites. Whether you’re looking for a simple blog, a marketing site, or a fully functional web application, selecting the right static site generator is the key to success.

By choosing the best framework for your needs, you can ensure faster load times, improved security, and seamless user experiences for your website visitors.

When selecting a web design tool, it’s important to choose one that aligns with your specific needs. Figma vs Canva is a common comparison among designers, as both tools serve different purposes. Figma is the go-to choice for UI/UX designers working on web and app design, offering advanced prototyping and collaboration features. On the other hand, Canva is ideal for creating quick graphic designs, social media visuals, and marketing materials with its user-friendly, template-based approach. Understanding the differences between Figma vs Canva will help you determine the best tool for your design projects.

In this detailed comparison, we’ll explore Figma vs Canva in terms of features, pricing, pros, cons, and their best use cases to help you decide which is best for your needs.

What is Figma?

figma

Figma is a cloud-based UI/UX design tool that allows designers to create wireframes, prototypes, and high-fidelity designs. It is known for its collaborative features, which make it ideal for teams working on web and app development projects. Figma enables designers to create responsive designs with precision and allows real-time editing and feedback.

Key Features of Figma

  • Real-time Collaboration – Multiple users can edit designs simultaneously.
  • Cloud-Based – No need to install software; access projects from anywhere.
  • Vector-Based Editing – Ensures high-quality, scalable graphics.
  • Auto Layout – Makes responsive design easier.
  • Prototyping Tools – Create interactive prototypes without coding.
  • Plugins & Integrations – Extend functionality with third-party tools.
  • Version Control – Track changes and restore previous versions.

What is Canva?

canva-screen

Canva is an easy-to-use graphic design platform that helps users create social media graphics, presentations, posters, and other visual content. It is template-based, making it beginner-friendly for those with little to no design experience.

Key Features of Canva

  • Drag-and-Drop Editor – Simple interface for quick design creation.
  • Pre-made Templates – Thousands of professionally designed templates.
  • Stock Images & Icons – Large library of free and premium assets.
  • Collaboration Tools – Teams can edit and comment on designs.
  • Brand Kit – Store brand colors, fonts, and logos for consistency.
  • AI-Powered Tools – Magic Resize, Background Remover, and more.
  • Export Options – Download in multiple formats (PNG, JPG, PDF, etc.).

Figma vs Canva: Feature Comparison

Feature Figma Canva
Best For UI/UX design, web & app prototyping Graphic design, marketing materials
Collaboration Real-time multi-user editing Shared team workspaces
Accessibility Cloud-based, works in the browser Web-based & mobile apps
Design Control High level of customization Template-driven design
Prototyping Yes, built-in No, only static designs
Plugins Extensive plugin support Limited add-ons
AI Tools No Yes (Background remover, Magic Resize)
Learning Curve Steeper, requires some design knowledge Easy, beginner-friendly
Export Options HTML, SVG, PNG, JPG, PDF PNG, JPG, PDF, MP4, GIF

Figma vs Canva: Pricing Comparison

Figma Pricing

  • Free Plan – Basic features with limited projects and editors.
  • Figma Professional – $12/month per editor (Unlimited files, team collaboration).
  • Figma Organization – $45/month per editor (Advanced collaboration, analytics, security controls).

Canva Pricing

  • Free Plan – Basic templates and editing tools.
  • Canva Pro – $12.99/month per user (Premium templates, brand kits, AI tools, background remover).
  • Canva for Teams – Starts at $14.99/month (Advanced team collaboration tools).

Figma vs Canva: Pros and Cons

Pros of Figma

Best for UI/UX and web design projects.

Real-time collaboration and version control.

Advanced prototyping and design tools.

Works directly in the browser with no installation.

Extensive plugin support.

Cons of Figma

Steep learning curve for beginners.

No built-in AI tools like Canva.

Requires an internet connection for access.

Pros of Canva

Simple drag-and-drop interface for beginners.

Thousands of templates for fast design creation.

AI-powered tools for quick edits.

Great for social media, marketing, and branding.

Affordable pricing for individuals and teams.

Cons of Canva

Limited customization compared to Figma.

No prototyping features for UI/UX design.

Works best for static designs, not interactive layouts.

Which Tool is Best for Web Design?

Choose Figma if:

  • You are a UI/UX designer working on websites or apps.
  • You need a tool with advanced prototyping and interactive features.
  • You work with a team and require real-time collaboration.
  • You want complete control over design elements.

Choose Canva if:

  • You need a quick and easy way to create marketing materials.
  • You are a beginner with no prior design experience.
  • You don’t need advanced customization or prototyping.
  • You want access to AI-powered design tools.

Conclusion

Both Figma and Canva are excellent tools, but they serve different purposes. Figma is the best choice for professional UI/UX designers working on web and app design, while Canva is ideal for marketers, social media managers, and beginners looking for an easy way to create stunning visuals.

If you’re serious about web design, Figma offers better flexibility, prototyping, and collaboration features. However, if you need fast, beautiful graphics for social media, ads, or presentations, Canva is the way to go.

Ultimately, your choice depends on your design needs and skill level. Which tool do you prefer? Let us know in the comments!

Special characters in HTML are symbols and characters that are not found on a standard keyboard or need to be displayed differently due to HTML syntax. These characters are represented using entity codes, which ensure proper rendering on web pages. Understanding and using special character codes in HTML is essential for web developers and content creators to avoid formatting issues and improve accessibility.

What are Special Character Codes in HTML?

HTML special character codes are predefined entities that represent symbols, reserved characters, and non-printable characters. These entities begin with an ampersand (&) and end with a semicolon (;). They allow web browsers to correctly display characters that would otherwise be interpreted as part of the HTML syntax.

Why Use Special Character Codes?

  • Prevent Syntax Errors: Reserved HTML characters like <, >, and & can cause issues if used directly in content.
  • Ensure Proper Rendering: Some characters may not be available on all keyboards or may display incorrectly.
  • Enhance Readability: Special symbols and diacritical marks improve content clarity and accessibility.

Common HTML Special Character Codes

Here are some commonly used special character codes in HTML:

Reserved Characters

Character Entity Name Entity Code
< &lt; &#60;
> &gt; &#62;
& &amp; &#38;
" &quot; &#34;
' &apos; &#39;

Mathematical Symbols

Symbol Entity Name Entity Code
± &plusmn; &#177;
× &times; &#215;
÷ &divide; &#247;
&radic; &#8730;
&asymp; &#8776;

Currency Symbols

Symbol Entity Name Entity Code
$ &dollar; &#36;
&euro; &#8364;
£ &pound; &#163;
¥ &yen; &#165;
&ruppee; &#8377;

Greek Letters

Symbol Entity Name Entity Code
α &alpha; &#945;
β &beta; &#946;
γ &gamma; &#947;
π &pi; &#960;
Ω &Omega; &#937;

Punctuation Marks

Symbol Entity Name Entity Code
© &copy; &#169;
® &reg; &#174;
&trade; &#8482;
&hellip; &#8230;
§ &sect; &#167;

How to Use Special Character Codes in HTML

To use special characters in an HTML document, simply replace the character with its corresponding HTML entity or numerical code.

Example 1: Using Reserved Characters

<p>Use &lt;h1&gt; for headings instead of &lt;h2&gt;.</p>

Output: Use <h1> for headings instead of <h2>.

Example 2: Displaying Mathematical Symbols

<p>The equation is: 5 &times; 5 = 25</p>

Output: The equation is: 5 × 5 = 25

Example 3: Using Currency Symbols

<p>The price is &pound;50 or &euro;60.</p>

Output: The price is £50 or €60.

Best Practices for Using Special Character Codes

  • Always encode <, >, and & to prevent HTML syntax errors.
  • Use named entities (e.g., &copy;) for readability, but numerical codes (e.g., &#169;) ensure compatibility.
  • Validate your HTML to confirm all entities render correctly.
  • Use special characters sparingly to maintain clean, readable HTML code.

Conclusion

Understanding and using special character codes in HTML ensures your content is correctly displayed across all browsers and devices. Whether you need reserved characters, mathematical symbols, or currency signs, HTML entities provide a reliable way to handle special characters. By following best practices, web developers can create accessible and well-structured web pages.